What is in this guide
Empty the bag and identify which part has failed before trying a repair. Fixing a broken school bag zip or strap can mean freeing trapped lining, rethreading intact webbing or fitting compatible hardware; torn shoulder-strap joins and damaged zip teeth belong with a repairer rather than a rushed morning patch.
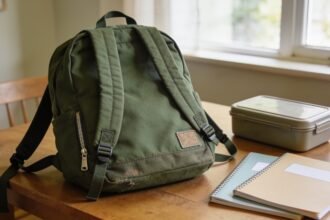
Start with the empty bag on a table
Remove the lunchbox, bottle, books and anything tucked into small pockets. Set the bag in good light, then photograph the fault and the surrounding area. Keep any detached part in a container so you can show it to the maker or repair shop.
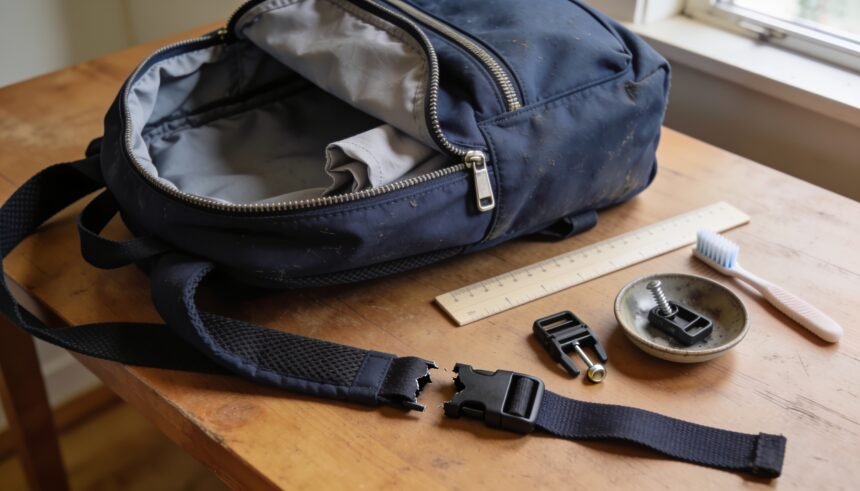
Gather a soft brush, a ruler and your phone for reference photos. Add tools only after identifying the repair. Do not start by cutting stitching or removing a zip stop: you may need those original parts intact for an assessment.
Use these observations to choose your next step:
- Zip will not move: inspect both sides of the slider for caught lining, thread or debris.
- Zip moves but opens behind the slider: stop treating it as a simple snag; ask about the slider and the zip chain.
- Pull tab has broken off: check whether the slider itself and its attachment point remain intact.
- Strap has become longer: inspect the threading through the adjuster and look for cracked hardware or damaged webbing.
- Strap is pulling away from the bag: set it aside for assessment of the stitching and surrounding fabric.
Free a zip without pulling harder
Hold the bag so the zip lies relaxed rather than stretched around its contents. YKK warns that forcing an overfilled bag closed can damage the zip elements or tape.
If lining is caught, gently move the slider back towards the position it came from while easing the trapped fabric away with your fingers. YKK recommends backing the slider out gradually instead of forcing it through the obstruction. Stop if the fabric does not release without force.
For visible loose dirt, REI’s repair guidance suggests a toothbrush to clear small particles. Brush gently, inspect again and try the zip slowly with the lining held clear. Keep fingers away from the slider’s path.
If it runs freely, open and close the compartment again before repacking. If it repeatedly catches at the same point, photograph that position for a repairer. Do not add household oil or soap as the next experiment; REI advises against these lubricants for technical outdoor gear because they can attract dirt.
Separate a missing pull from a failing slider
Our recommendation for a missing pull tab is to use a purpose-made replacement only when its instructions match the intact attachment point. Follow its fitting directions and check that it closes securely. If the attachment point is broken too, ask about replacing the slider.
When the zip separates behind the slider, do not assume that adding a new pull will solve it. REI identifies slider wear as a possible repair issue, but damaged teeth need further assessment. Its jacket tutorial also warns that squeezing a slider too hard can break or jam it. This guide therefore does not recommend a plier adjustment as a school-morning fix.
Ask the repairer whether the job needs a matching slider or a complete zip. Send a close photograph of any markings and another showing the whole compartment. Do not remove stops using a jacket tutorial without confirming that it suits your bag’s construction.
Check whether the strap needs threading or sewing
Lay the shoulder straps side by side. If one strap has simply slipped out of an intact adjuster, use the bag maker’s threading diagram. An undisturbed matching strap can help you check the route, provided both fittings are identical. Photograph it before moving anything.
Feed the webbing through in the specified direction, keep it flat and adjust the length. Then check that the adjuster holds during ordinary handling. If the strap slips again, stop rethreading it repeatedly and have the hardware and webbing assessed.
For torn webbing, an opening shoulder seam or fabric tearing around an attachment, our recommendation is a bag repairer. Show both the outside join and the lining behind it. Ask whether the surrounding material can support the proposed repair. Tape, glue or a few improvised stitches are not repairs this guide recommends for a shoulder attachment.
Match a replacement buckle before removing the old one
Measure the flat webbing across its width. Sea to Summit specifies buckle sizing by webbing width, not the outside width of the plastic fitting. Also check whether the strap has a free end or a sewn loop.
Some repair buckles use a removable screw pin for a fixed loop. Sea to Summit distinguishes one-pin designs with an adjustable end from two-pin non-adjustable designs. Match the attachment arrangement as well as the size.
Our recommendation is to confirm compatibility with the bag maker or parts supplier and use a matched pair unless they confirm that one replacement half fits. For a suitable removable-pin fitting, follow its instructions to position the loop and secure the pin. Leave sound stitching intact. If removing the old fitting requires cutting near the webbing, hand that step to a repairer.
Check the repair before packing for school
With the bag still empty, check the repaired closure and both strap adjustments. Then pack the usual school items and operate everything normally. Look for renewed separation, slipping webbing or an opening seam. This is a function check, not proof of long-term strength; do not yank or overload the bag to test it.
If the fault returns, use another suitable bag while arranging an assessment. Ask for the total charge, whether parts are available and the expected return date. Check the maker’s support options before authorising alterations.
Add a bag inspection to the back to school checklist. If repair is unavailable, the school backpack guide covers replacement selection separately. For now, empty the faulty bag and take the photographs before removing any hardware.
How we checked this
Checked on 21 September 2026 against YKK zip guidance, REI repair advice and Sea to Summit buckle instructions. The inspection and referral sequence is editorial guidance. No bag or repair was tested; instructions for the actual bag and replacement part take priority.
The one-page family week
One printable page that holds the whole week: meals, school, activities and who is doing the pickup. Free, and we send one useful email a week.
One email a week. No spam, unsubscribe in a click.